

30Mar, 2026
Introducing the D365 Lead and Contact Creator
Sitecore offers a well-established way to integrate with D365 through their Sitecore Connect™ for Microsoft Dynamics 365 for Sales connector. But what if you wanted a small lightweight way to just create Contacts and Leads? Now you have it.
This is part one of a series since there's a lot to cover. They will be:
- Module Overview, the Extension and Module Configuration
- D365 Datasource Caching and Custom Controls
- Form Support and Helpers
- Creating Items in D365
The Module
Before we get started, you can download the module from my GitHub account. I'll be referring to the files there since it's too big to paste ad-hoc content throughout the coming posts.
Some Assembly Required
Unlike other modules, this one needs some work on your side. The module will have a helper method to leverage a base template which you add to your form, and takes the data submitted by a form. At the simplest implementation you can accomplish all of this in about 4 lines of code.
Module Configuration
This module is driven by one config file, a main settings item, and a settings item that’s specific to each form. We’ll go over these and everything else that makes up the module in the coming posts.
The Config File
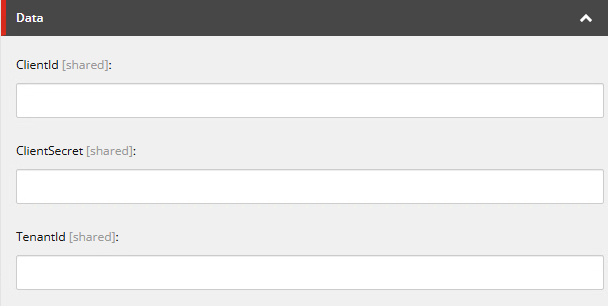
The config file has settings related to the D365 connection, most importantly your resource name.
<setting name="SitecoreFundamentals.D365.D365Resource" value="https://[CHANGEME].dynamics.com" />
<setting name="SitecoreFundamentals.D365.BaseAddress" value="/api/data/v9.2/" />
<setting name="SitecoreFundamentals.D365.Authority" value="https://login.microsoftonline.com" />
The 2nd part of the settings has some cache lifetime values which we’ll cover in part 2. In short, they retain picklist values so we’re not making extra calls on every submission since the team rarely updates the options.
<setting name="SitecoreFundamentals.D365.Cache.AuthCacheLifetimeMinutes" value="50" />
<setting name="SitecoreFundamentals.D365.Cache.PicklistCacheLifetimeMinutes" value="50" />
The 2nd section of the configuration file has control sources, which are used to present custom html controls in the Content Editor. There’s more information about the use of this in Part 3.
The Settings Item
Unlike my earlier modules, this settings item only keeps authentication information, which is also going to be cached. I’ll go over authentication in depth, you guessed it, in part 4.
The Common Form Settings Item
This is a base template meant to be added as part of a custom submit action, or if you’re making a custom form, you just call and use it while someone has submitted something.
So, this is that is included and unique on a form-by-form basis:
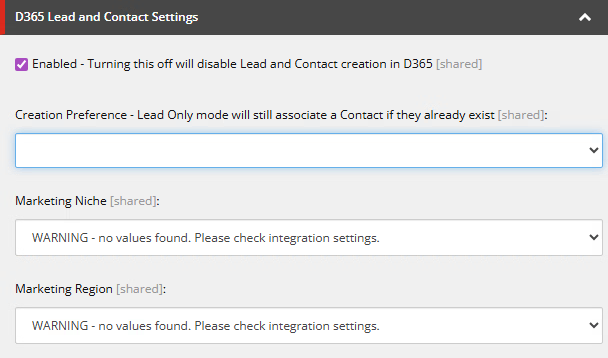
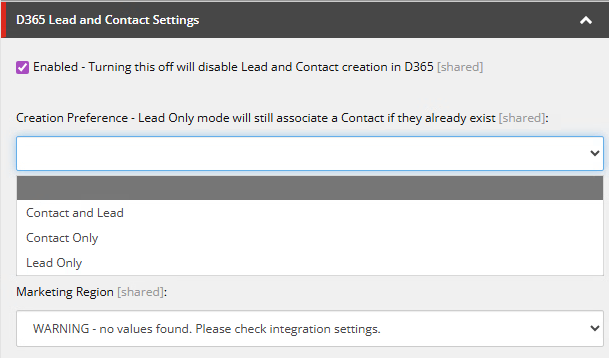
The Creation Preference allows you to choose if you want to create both a Lead and Contact, or just one of them.
You’re probably wondering what the Marketing Niche and Marketing Regions are. I’ve included these as an example of how the picklists will work when the User submits the form, so you can drop these if you don’t want to commit picklist data yourself. It’s more of a suggestion and not mandatory. They show as a warning in these screenshots because, until you enter credentials to your instance this will happen (as expected).
What’s Next?
Ok this is an introduction into the module’s use and foundational elements. In the next post we’ll go into caching and custom controls so Authors can set integration data that exists in D365.