

28Jun, 2025
A User's Guide to the Send Batch Upload and Merge Module
Yesterday I posted a walkthrough of this module, diving into the development of it. Today I wanted to show Sitecore Users how you install and configure this module with no development experience needed.
NOTE
Bear in mind if your account is restricted to certain areas, you might be limited in following these steps, but that's a normal part of account management. Some people are just restricted from some areas.
How to Install the Module
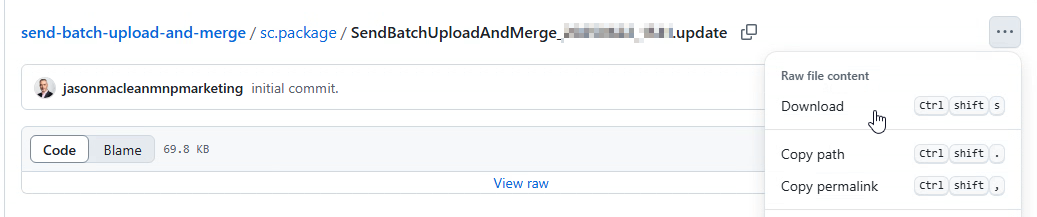
The file for this module is found in the package folder on my GitHub page. Download the file ending in “update” by clicking on it, then choose to download from the top right.
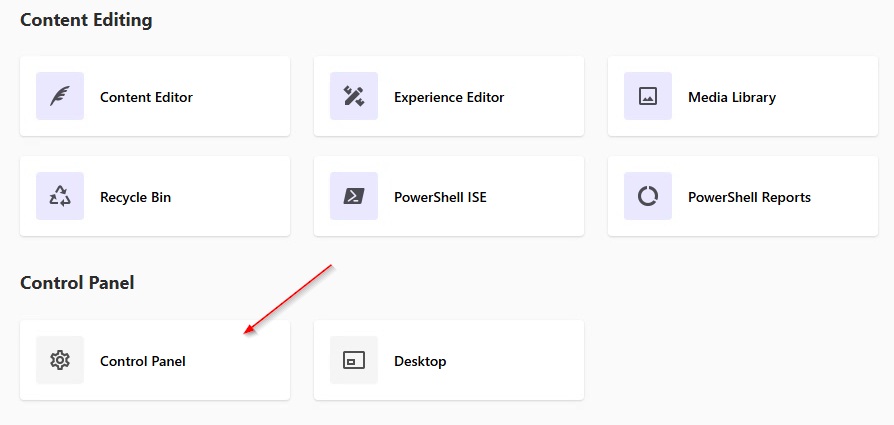
Installing this file will be done from the Control Panel in the Sitecore client. To get there, click the icon in the top left, and then the Control Panel button.

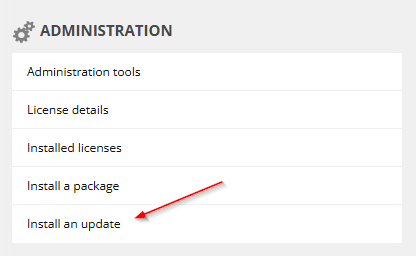
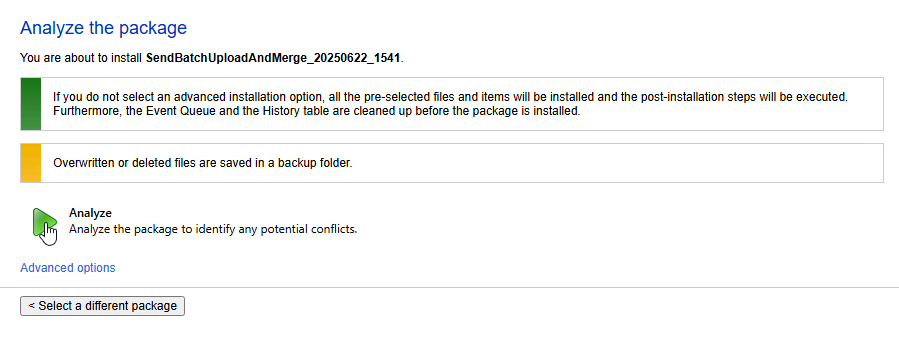
One in the Control Panel, click on “Install an update”, then select the update file you just downloaded when prompted for the package. Click the “Package Information” button and then “Analyze the package”, and then the green Analyze button.
NOTE
The next step will restart your Sitecore Content Editor instance, so just make sure no one is using it. If you have a standalone, or “all in one” instance, it will restart your public site too, but this is uncommon and not advised, so it shouldn't be the case.
When the analysis is complete, click “Analysis result” and then “Install the package”. You may see warnings on this page about items already existing and that's ok. Those are common folders which are parents to the items this module installs.
When installation is complete you can click on “Installation result” to see an overview, or just close this window since it's done.
How to Configure the Module
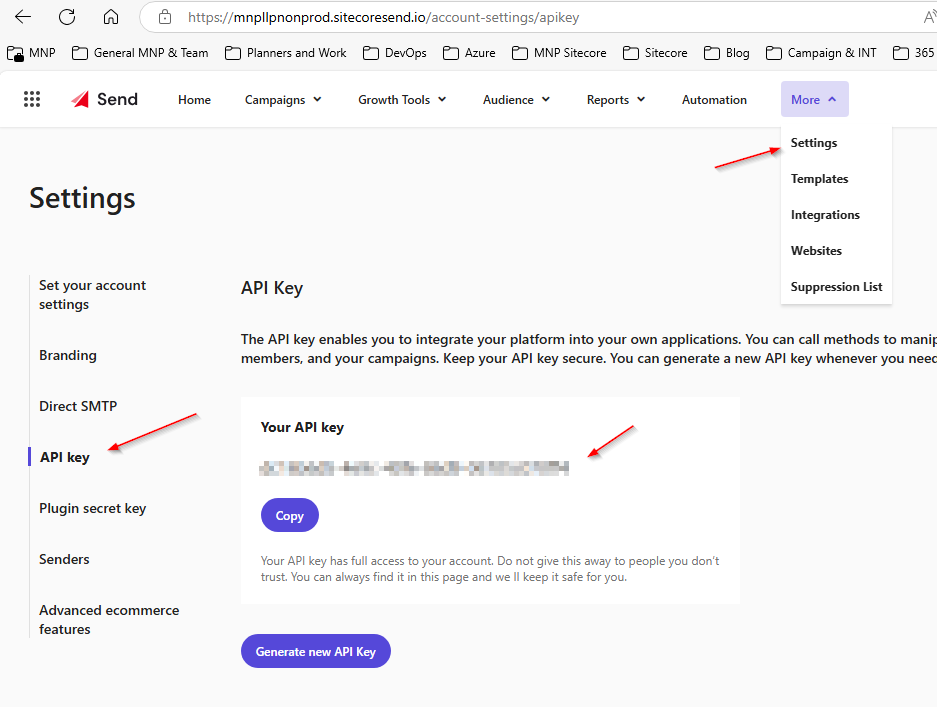
You need to set the “API Key” in this module so it has permission to use your Send account. To get the key log into Send and go to More -> Settings -> API Key.
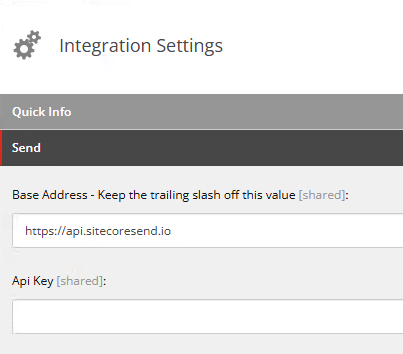
Once copied, open the Content Editor in Sitecore and navigate to /sitecore/content/GlobalSettings/Integration Settings. Here you will see a field called API Key. Paste it there and save.
Getting a CSV file for upload
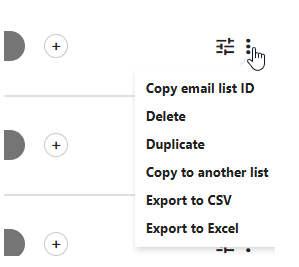
The file format used for this module is a semi-colon delimited CSV and needs to have the same columns as the destination list. You can get a copy of the required CSV by going into Sitecore Send -> Audience -> Email Lists. From there, click the tree dots on the right of the list you want to upload to, and choose Export to CSV.
NOTE
When working with these files, Excel may convert this CSV to comma separated values instead of the provided semicolon format. This will not work, so you must ensure that it stays as semicolon.
Use this CSV to update or add the records you want brought in, and it's ready for use.
Decisioning Process for Updates
When the module runs it will add any missing records to the email list that it finds in the CSV. If a contact already exists (found by email match), it will update the email list record. If there are existing tags in the destination record, they will be merged with any from the CSV file.
If you are modifying this file to add custom fields, you must ensure that the email list has the same named field.
Performing the Batch Update
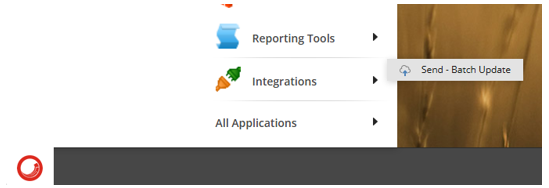
To start, open Sitecore and go to the desktop, where you can use the start menu to find this program in the Integrations folder.
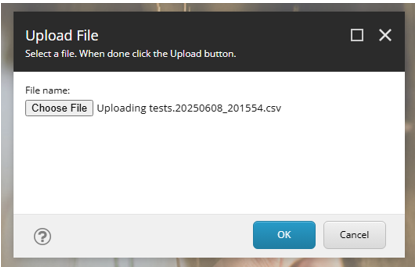
The first prompt will be to ask you for your prepared CSV file.
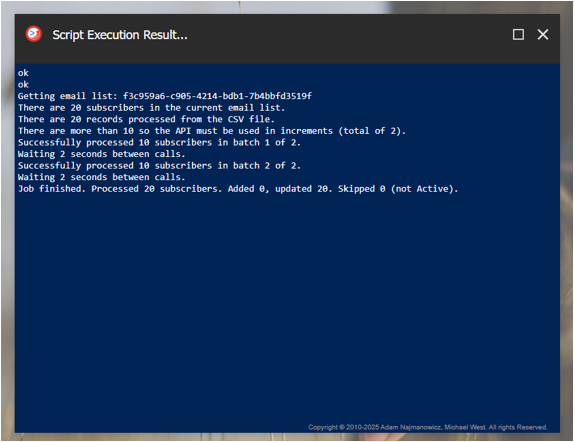
Next, you can choose Report only or Execute and report. The report only mode is handy to validate what will happen when you decide to commit your changes through execute. See below for an example of the report.
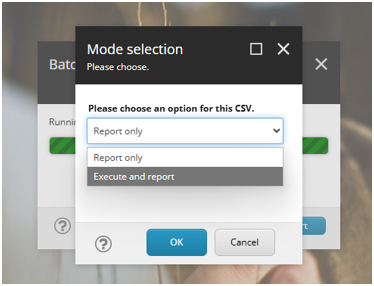
Report mode will be very fast, while the Execute and report mode may take a while. The reason for this is Sitecore Send accepts 1000 records every 2 seconds. You can us that math to determine how long it will take.
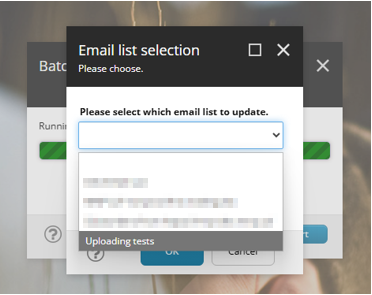
Next, you will be asked to choose which list you want to update. If there are no lists, and you see them in Send, check the integrations settings item under the global settings are of the sites to make sure the “API key” is right.
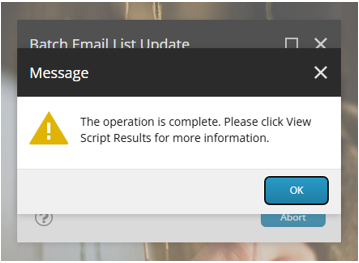
Finally, you will see a message that the process is complete. After you click Ok, you can click to see the results of the operation, which would apply regardless of if it was a success or there was an error.
The results will be shown in the script window. The only difference with report and execute modes would be that reports will not show the wait and batch lines.
Let me know if you have any issues with this module, and good luck!