30Jun, 2020
The Fastest and Simplest Solr Installation Guide You'll Find
One of the prerequisites for a Sitecore installation is Solr. I'm excessively lazy, so having a script to do the complete installation for me is something I'm going to keep around. Today we'll install Solr in 2 simple steps!
Preparing for the Installation
Before starting you'll need to ensure you have the correct version of Java installed for the particular version of Solr you're installing. Today we'll be installing Solr 7.5.0 which requires JRE 1.8 or higher.
You can get the PowerShell script that will handle this installation off my site, here. Extract it into a temporary location for the install.
Before running the installation you may want to review and set a couple of variables, which are optional. At the top of the install-solr.ps1 file you'll see the following:
Param(
    [string]$solrVersion = "7.5.0",
    [string]$installFolder = "c:\solr",
    [string]$solrPort = "8983",
    [string]$solrHost = "localhost",
    [bool]$solrSSL = $TRUE,
    [string]$nssmVersion = "2.24",
 [string]$keystoreSecret = "secret",
 [string]$KeystoreFile = 'solr-ssl.keystore.jks',
 [string]$SolrDomain = 'localhost',
 [switch]$Clobber
)
Running the Installation
Before running the install, set the execution policy in PowerShell to unrestricted:
Set-ExecutionPolicy -Scope CurrentUser Unrestricted
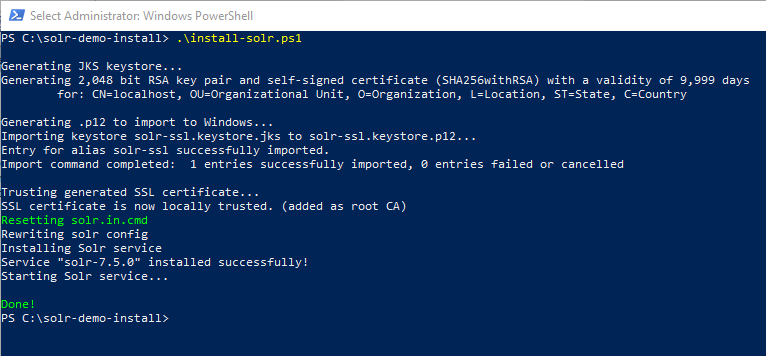
Next, start the installation by running:
.\install-solr.ps1
As you can see the installation is quite short. Not even enough time to sip your coffee!

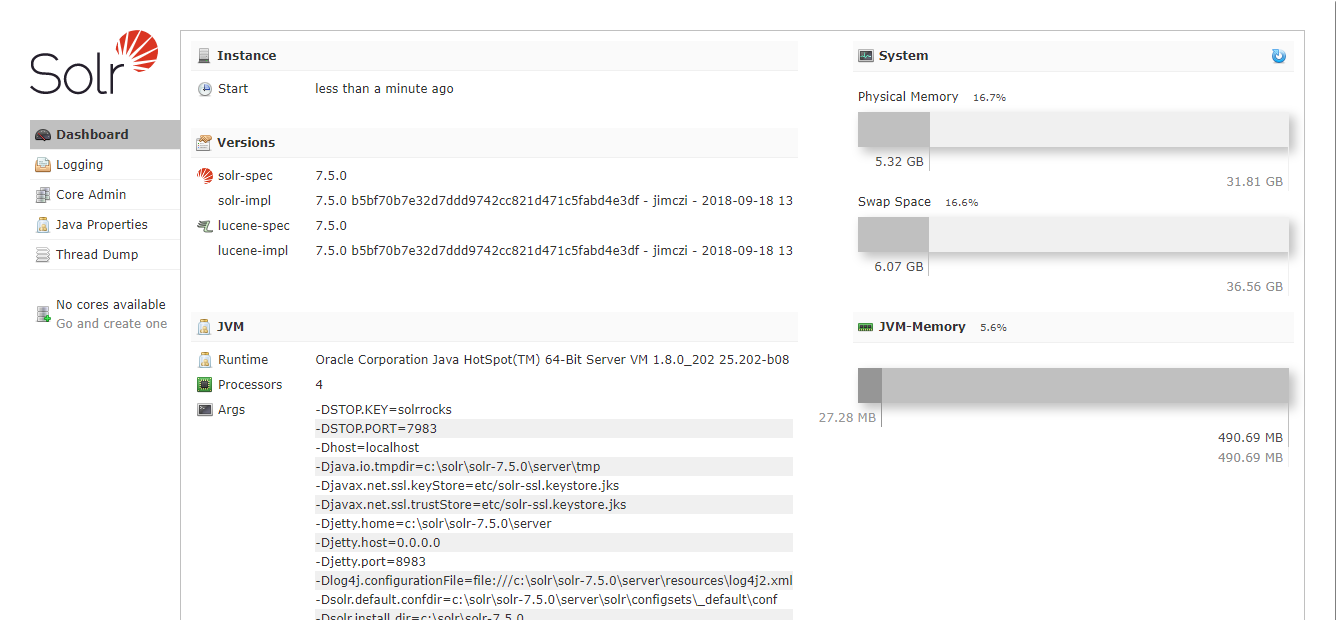
Once complete your default browser will open up showing the running instance, ready to be used by Sitecore!

Remote Access
The certificate for this Solr instance is generated in the same directory as the PowerShell script. If needed, you can install this certificate in another server's trusted store.


