31Aug, 2020
Using the Sitecore 9.2 Installation Assistant and Why There's Still Room for Improvement
The Sitecore Installation Framework has been a tremendous advancement in Sitecore instance management, but completely dropping the installer wasn't necessarily needed. The feedback was heard and with the release of Sitecore 9.2, an installer has been reintroduced. It brings up most of the way there, but there's still some room for improvement. We'll cover the installation of 9.2 with this assistant and what else is needed that it doesn't provide.
Prerequisites
Before any new installation with new versions I always verify what upgrade is needed with the Sitecore compatibility table. Low and behold if you're used to the resources for 9.1 you'll see that 9.2 no longer supports 2012 R2, Mongo 3.6.6 or Solr 7.2.1. I've dropped Mongo when it was no longer mandatory in order to simplify architecture, and thankfully we upgraded to Windows Server 2016 a while go. This leaves the Solr upgrade, which was completed before we start the installer.
Installation
For this installation you'll need to download the Graphical setup package for XP Single on the Sitecore Experience Platform 9.2 Initial Release page. Extracting this package and running setup.exe will start the process, where you'll be notified of what you need before you start:

So long as you have SQL, Solr and your license file, the installer will take care of the other prerequisites.

Prerequisite installation will execute and will show if there are any errors, but I've never experienced any in a few runs through.

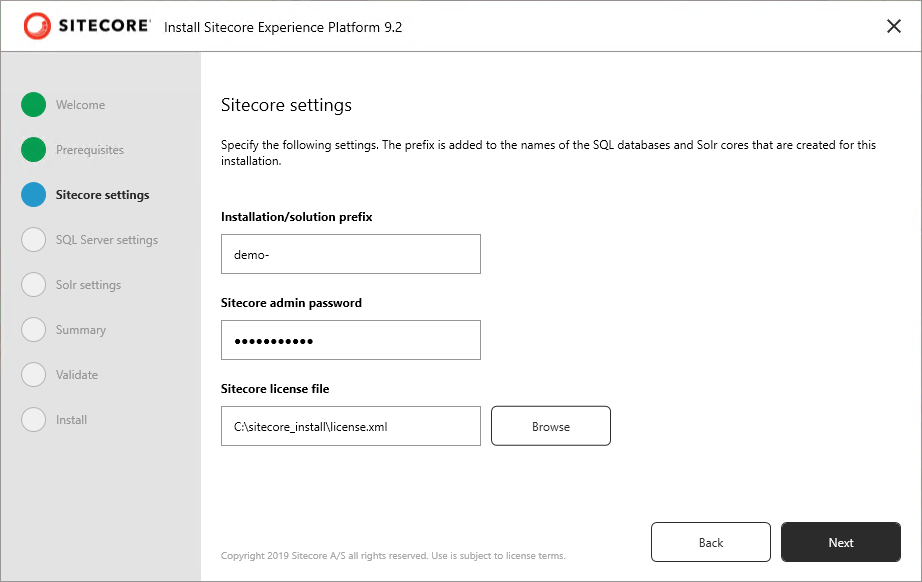
Here we have the ability to set the password, which is a little more convenient than editing the SIF template in the previous versions lest it becomes random.
Ensure your SQL credentials are accurate, because the installer won't validate them at this step before starting and the whole installation will fail. A validation step here by the installer could be a big help.

Similarly, Solr should be checked to ensure the URL is accurate and the service is running. You must also have write permissions to the system root.

Once all parameters are set you can confirm the values before continuing.

Next, the installer validates the license, SIF configuration files and WDP files are ready to be used.

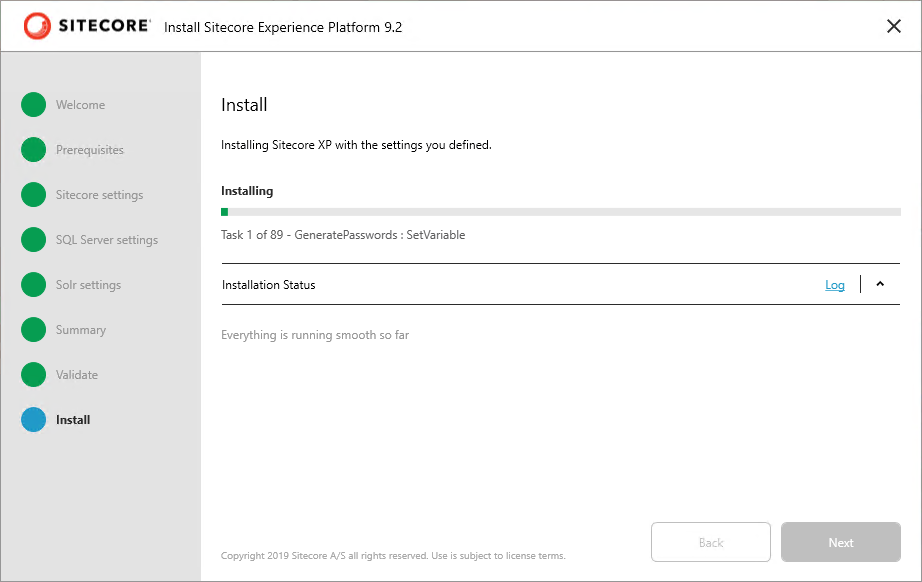
The installer will give you a progress, same as with the prerequisites at the beginning. Once complete you'll get a confirmation page.
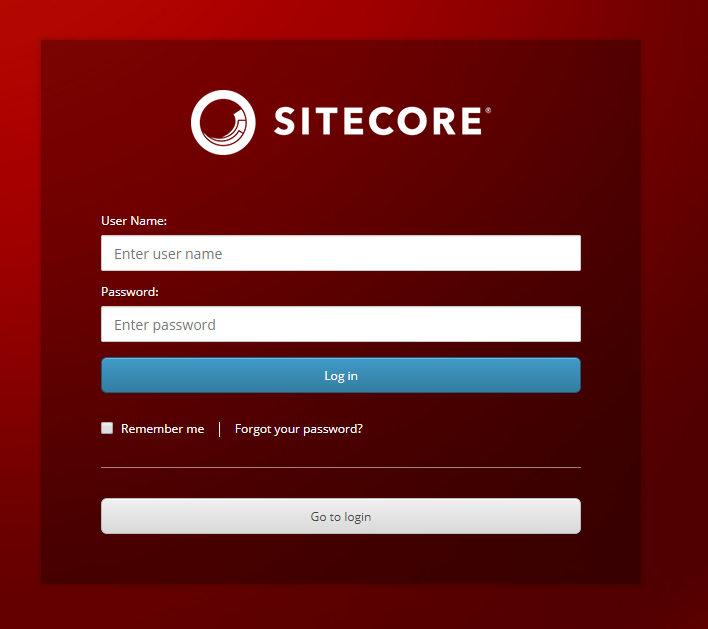
Open up IIS and browse to the host name created during installation to view your installation.

Beyond the Installer
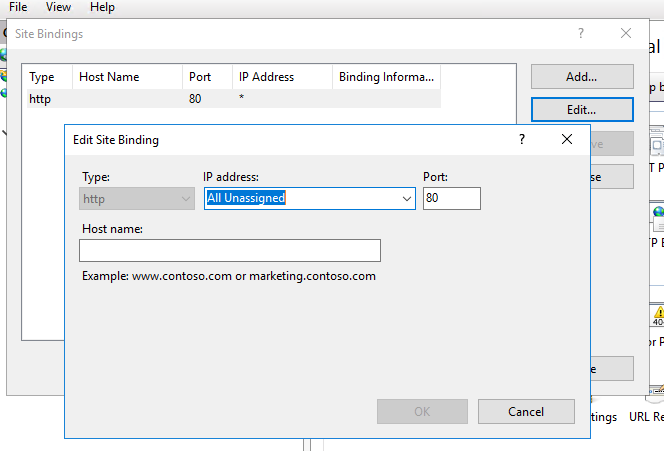
The issue I have with the single instance installation is that it will only work for a localhost request, and this isn't going to work for teams where a VM is used by a developer who deploys to it and tests remotely. There's no reason why the site can't be externally accessible along with Identity and xConnect, by using non-standard ports for SSL. I covered this in my last post, Providing External Access for the Xp Single Developer Installation, but it can be simplified even further. If you don't need Identity in your Dev instance, you can just turn if off in IIS, and then remove the named binding from your site.
This will cause Sitecore to fall back to the old login method. You won't have SSL due to xConnect, but it works. If you want SSL on the site just follow the full guide in the link above.