

14Feb, 2021
All the basics for using EXM in 10 minutes or this post is free!
I previously covered setting up EXM in the post, Configuring EXM's SMTP Settings, where we got lost in the world of config files. Well, lost world, no. It was a simple change which got you running and able to send emails with this tool. Today, we're going to run through creating a sample list and sending it to validate feature functionality.
Creating a Recipient List
The first thing we need is a list to test with, so let's create one from a CSV file. The format is very straightforward, and you can follow along by using this sample, swapping in a valid address or two that you can receive:
First Name,Last Name,Email Address
Jason,MacLean,jason.maclean@nothing.ca
Jason,MacLean,jason.maclean@nothing.com
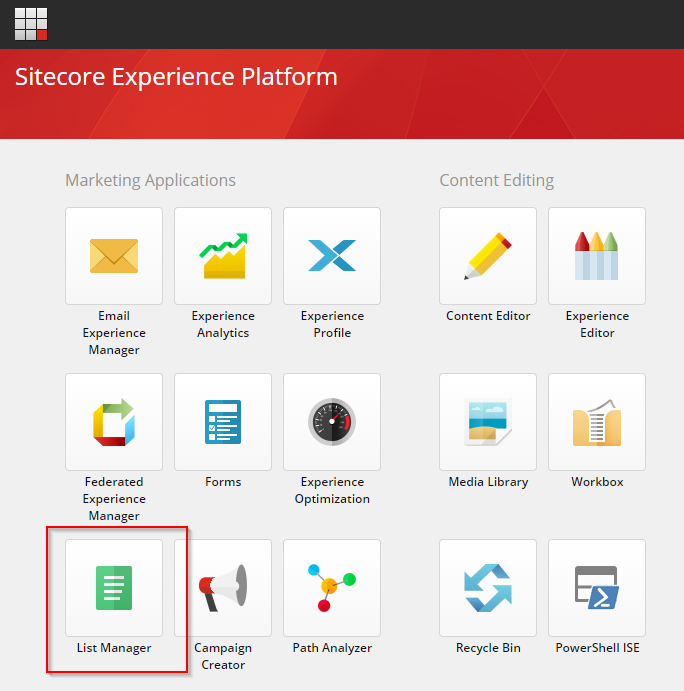
Once you've created this list as a CSV, go ahead and open the List Manager, which is found in the Marketing Applications area of the Launchpad.
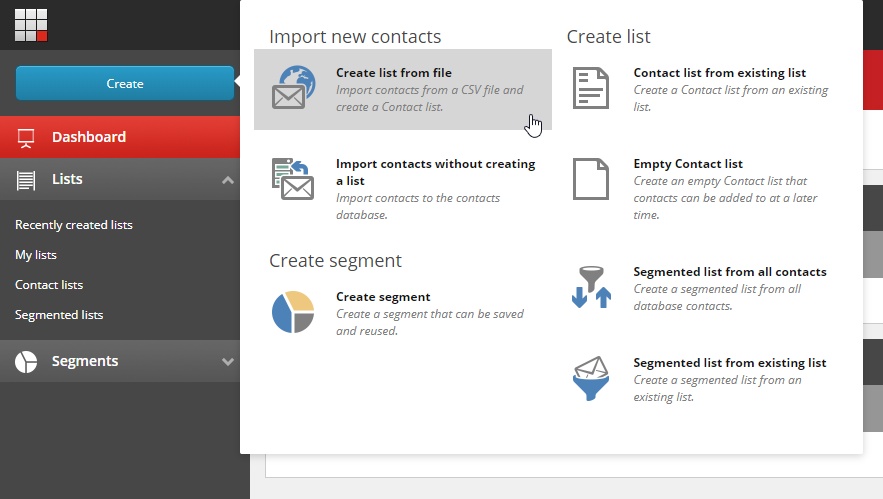
Click Create -> Create from list file.
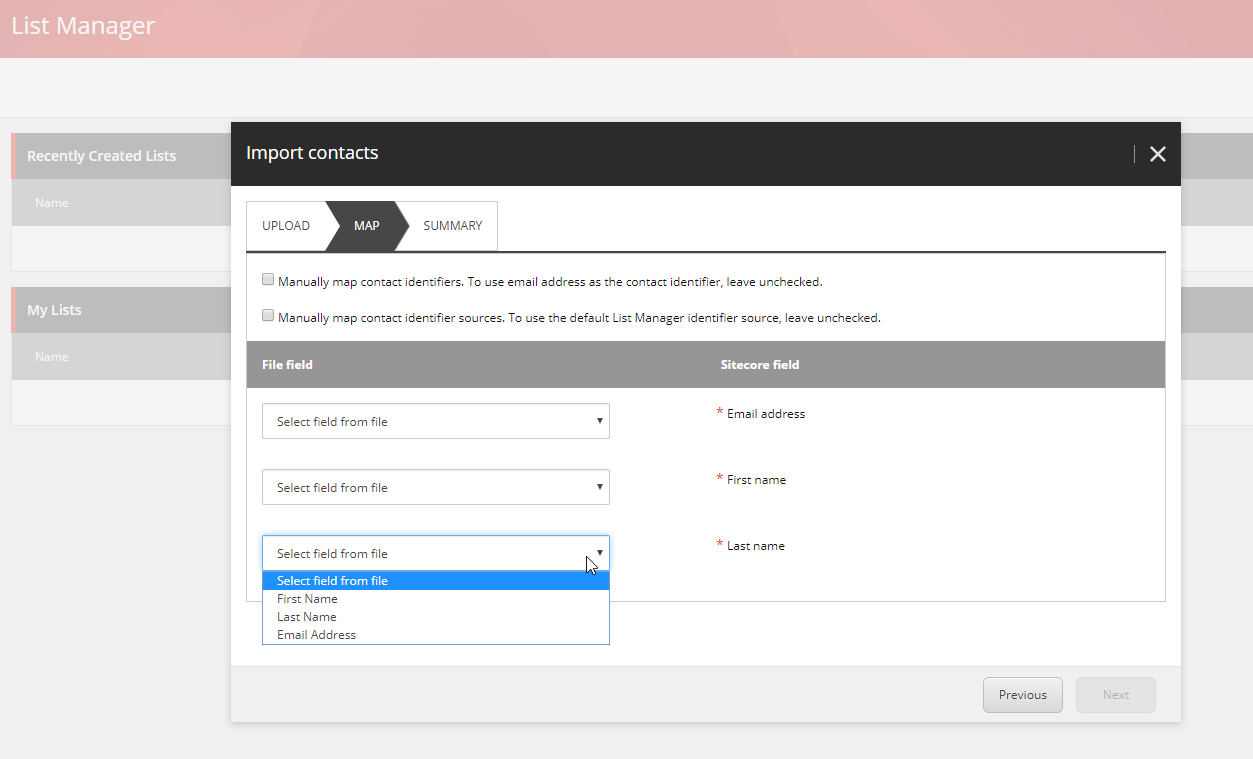
In the next step you will be asked to upload the CSV. Once complete, the following mapping wizard will appear, where you can select columns to match their purpose. You'll be given a summary of what data was imported when you confirm this mapping. You can also provide a name for this list and save it.
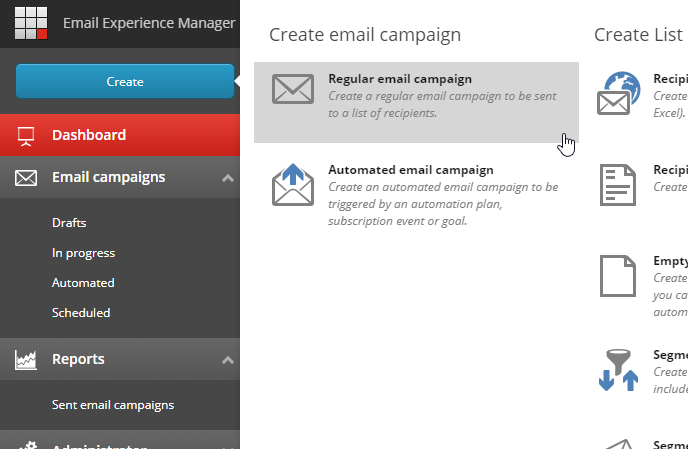
Creating a Test Campaign
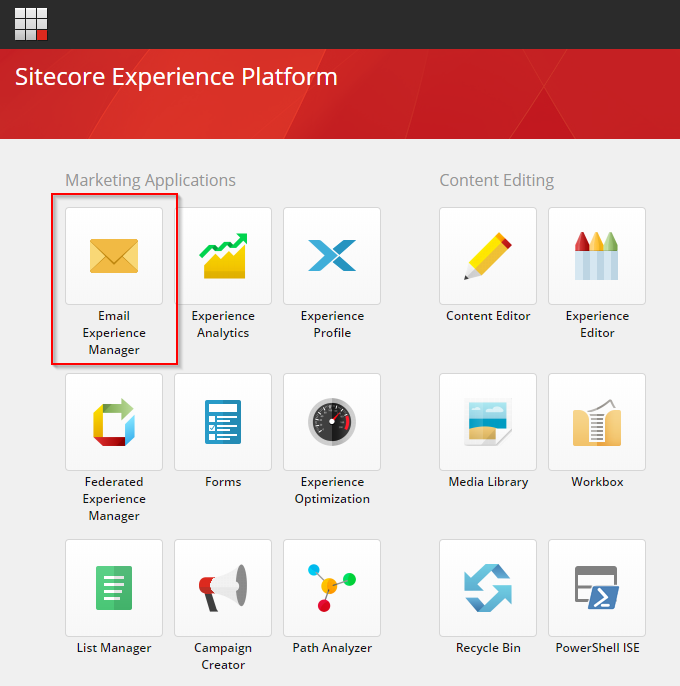
The next thing you're going to want to do is open the EXM dashboard, where a new campaign can be created. For this demonstration I'm going to choose “Regular email campaign”.
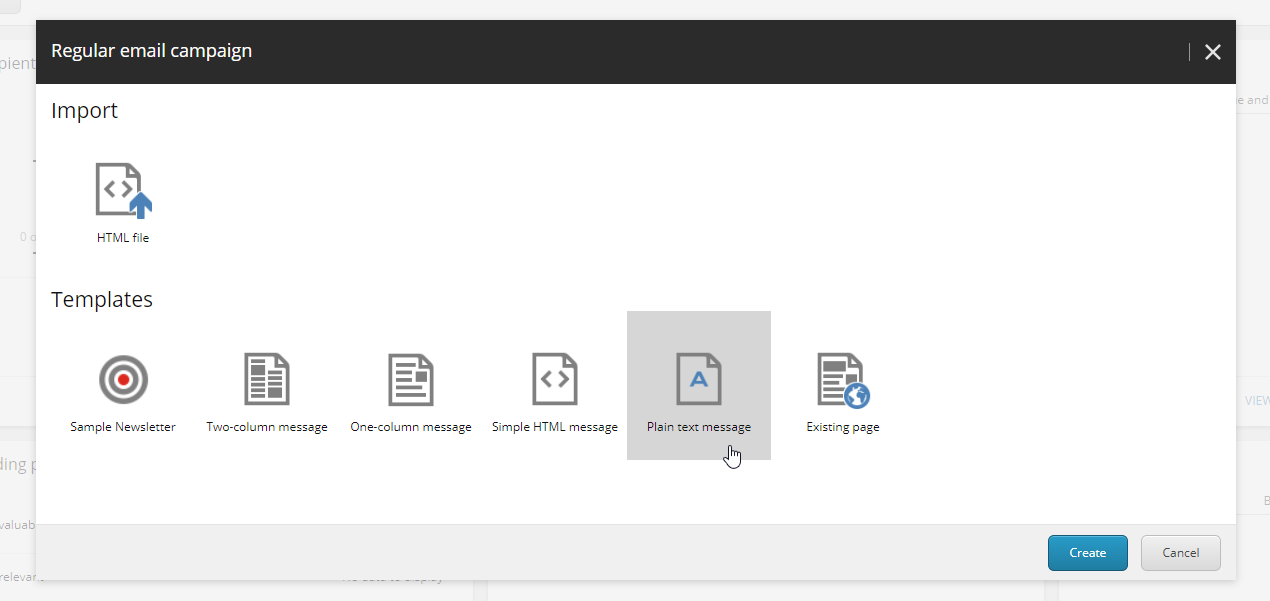
I'm going to use Plain text message for this demonstration.
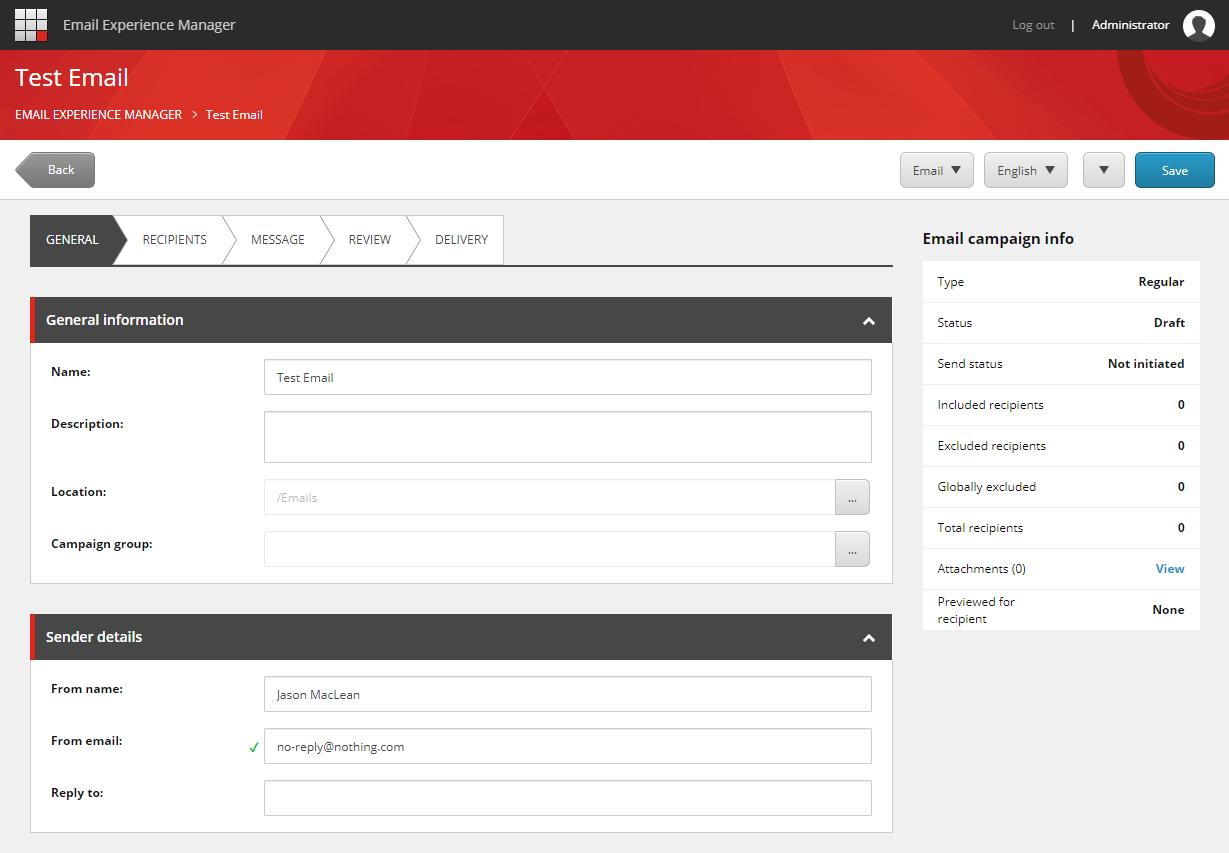
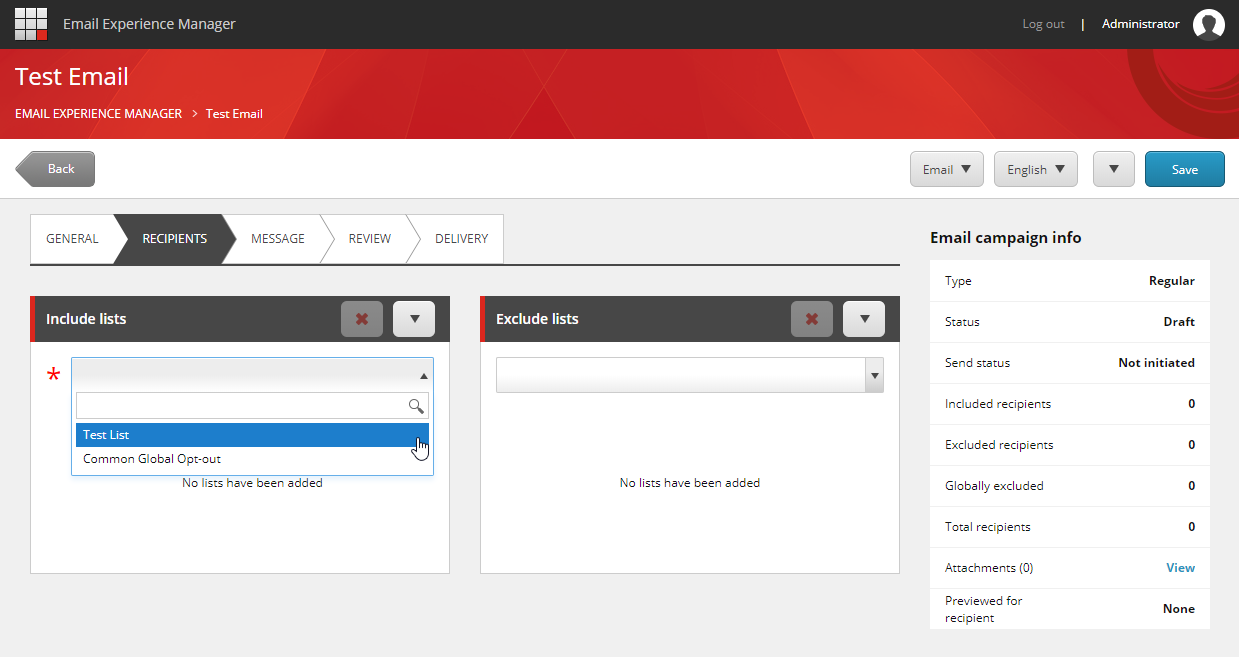
Once created you can fill in data that is important to you, but From Email is going to be mandatory. When you're done move over to the Recipients tab to select the list you just made.
On the message tab you can create the email that is to be sent, and guess what, there's tokens available! The ones we have available to use would be $fullname$, $firstname$, $lastname$ and $email$, so I'm going to use a couple now. These tokens will get replaced on sending with the recipients' data from their record.
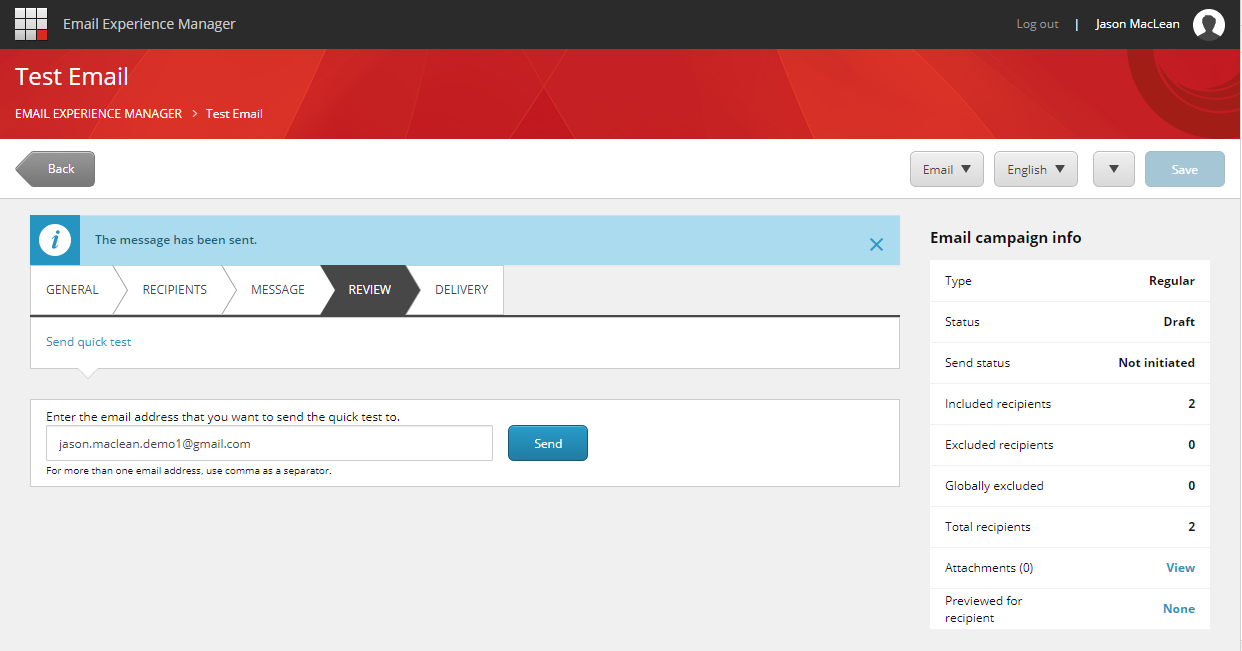
The Review tab is self explanatory. Do you want to test this email by sending it to yourself? Go ahead and give it a try; it saves you a lot of embarrassment should something not be laid out correctly.
Ok now it's time to kick the tires and light the fires! Isn't this exciting? Ok 2 test addresses ain't much, but here we have the options to send in various ways. Today I'm going to schedule the delivery for 5 minutes from now because I love the anticipation, and I'm going to send a notification.
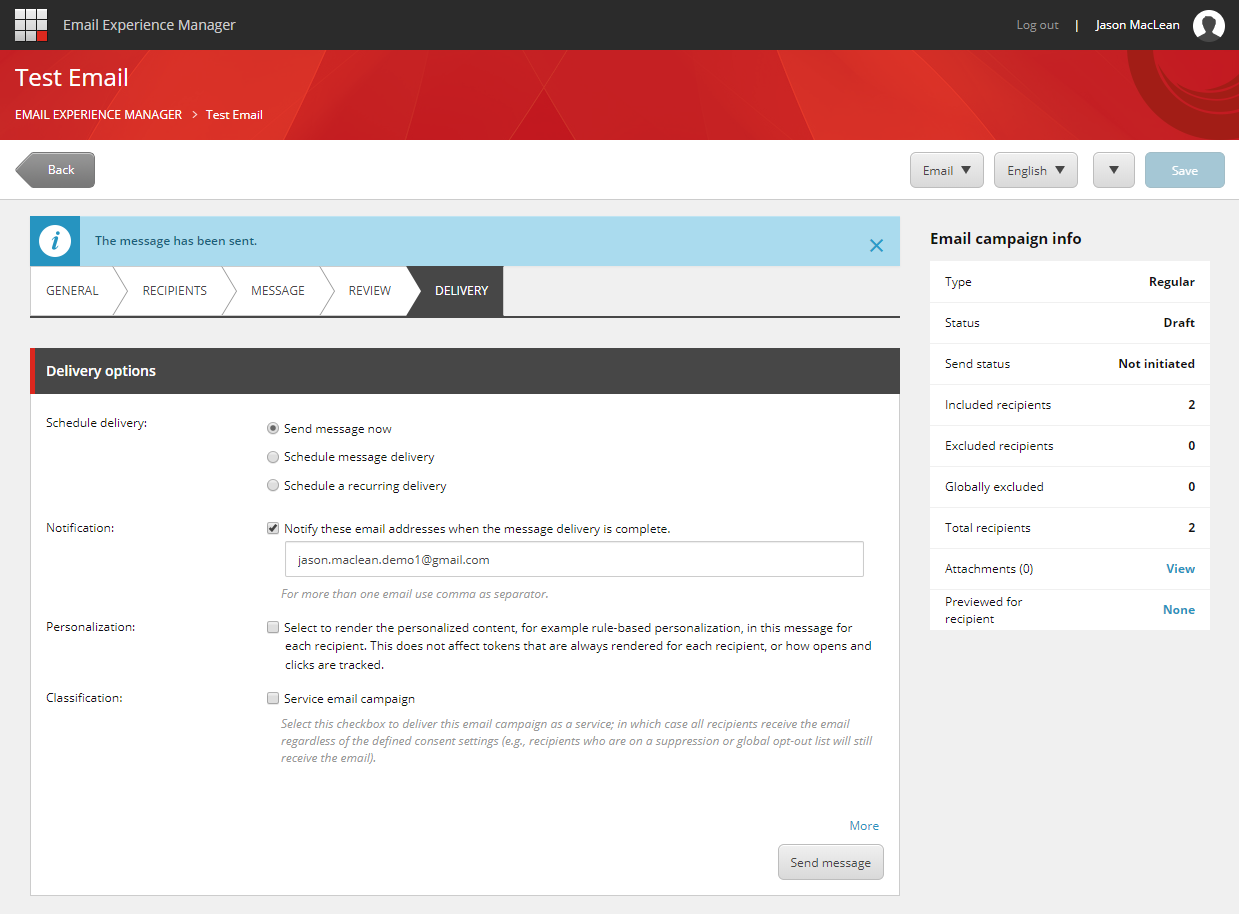
And that's it! Your message is sent to your Users. We'll cover EXM reporting and language support next, so stay tuned.